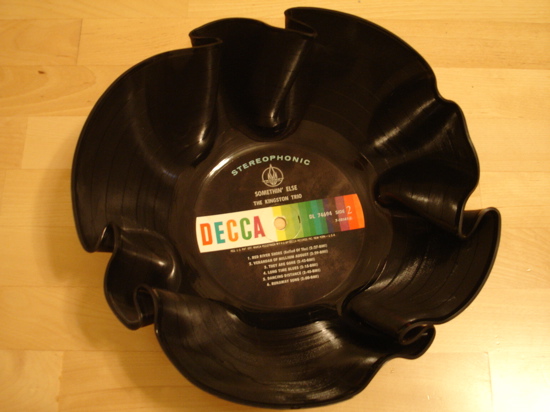
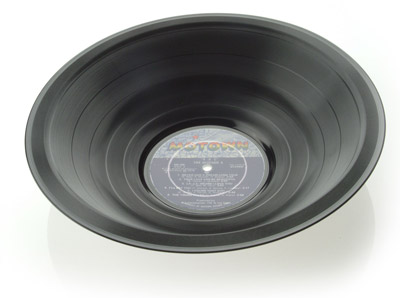
This is the cutest idea for coasters, especially when you're on a budget :)
1. Tear out 6 magazine pages. Cut off the ragged edge on each, then cut each page in half lengthwise. I stacked them and cut them all at once with an X-acto knife and ruler. (To make a coaster with a finer weave, cut each of the half-page strips in half lengthwise again. And note that weaving will take you twice as long!)

2. Fold each strip in half lengthwise. Then fold the resulting piece in thirds, folding the cut edges inward first so they're hidden inside. Now you have a long, thick strip. Fold it in half at the center. See steps pictured above. Repeat with each magazine sheet.
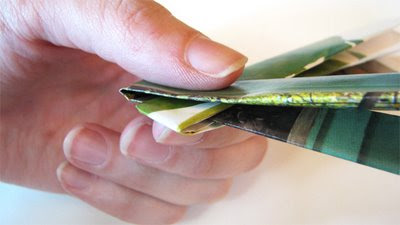
3. To start weaving, interlock two strips. This is the bottom left corner of your coaster.
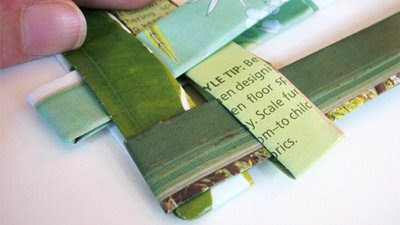
4. Continue weaving. Some strips will wrap around the outside of the coaster when you start them; some will begin sandwiched between two existing strips. See above. Keep adding to your coaster one strip at a time, making sure to push the papers tightly together. Flip your coaster over and check the back frequently to make sure nothing's going haywire back there!

5. When the coaster has 6 horizontal and 6 vertical strips, it's time to finish the edges. Strips that emerge on the outsides of the "coaster sandwich" need to be secured. Trim off one end of the strip so it's even with the edge of the coaster. Bring the other end around the edge of the coaster and tuck it under the closest weave to hide the raw ends. You should have just enough length to reach.

6. Strips that emerge from the inside of the sandwich can simply be cut off. If you want to seal your coaster with something, you could try some spray acrylic sealer and see what happens. Personally, I don't care if mine gets a little wrinkly from being wet. Happy weaving.